- 2,951

- Manchester | UK
- OnoMaToPeja_
- PS3>360.GOT.IT?

Welcome to my tutorial showing how to clean your Logitech G25/G27 Pontentiometers!
Lets get straight to the subject!
I ADVISE YOU TO READ THE WHOLE GUIDE BEFORE YOU DO ANYTHING!
YOU ARE DOING THIS FIX AT YOUR OWN RISK
Video version:
*Now with a HD step by step tutorial!
Text version:
★ Getting your pedals out of the casing
1. Using the 2.5mm Allen wrench (Hex key), unscrew the 6 screws that hold the pedal covers.


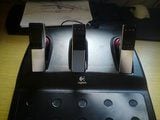
2. Now flip your pedals over , and remove all the 14 screws using a Philips screw driver.
Bare in mind there are 2 hidden ones under the carpet flap.

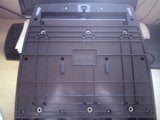
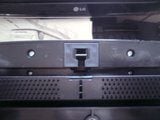

3. Now flip your pedals over once again, and remove the top cover.
After that using the Philips screwdriver, remove the 2 screws that are holding
the cable in the casing. After that put the top cover aside.


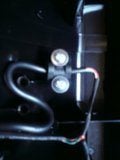

4. Now what you want to do is flip the assembly over so that its sitting on the pedals,
and remove all the 12 screws using the Philips screwdriver.


5. Now what you are left with are the pedal units. They are factory labelled A, B and C.
Before you unplug the cables from the pedals, label them first.
So that you know which one is which when your putting it back together.
I made a little diagram if you accidentally forgot to label the cables.

★ Cleaning the Pontentiometers
First of all let me say that you want to be very carefull when you are dealing with the pontentiometers.
1. Take the pedal that that you want to clean the pontentiometer in, and using a 10mm Flat wrench and a Allen wrench (Hex key)
(can't remember what size sorry
 ). Undo the 2 bolts that are holding the pedal in its housing.
2. After that what you should be left with, is just the pedal housing.

3. Using a cloth, clean the housing from the dust. After that we get to the point where it gets a bit harder.
Using a flat screw driver you want to bend the silver flap that holds the pontentiometer in place.

4. After you bend the silver flap, you want to carefully take everything off the bolt. Remember in what order the parts go on. When you get to the spring, you want to remember how it sits there, so that you know how to put it back on. When you get to the bolt nut, unscrew it.

5. When you took all of that off, you want to take the pontentiometer off the housing.

6. Now carefully using a flat head screwdriver, you want to bend the 4 silver flaps that are holding the pontentiometer cover in place.
Do it slowly and carefully, because the last thing that you want to do is brake them.

7. Now take a good luck at the assembly of the pontentiometer because you want to know how to put it back later.
After you take the pontentiometer apart you should have 4 seperate parts.
The ones below, plus the silver housing that I dont have a picture off.
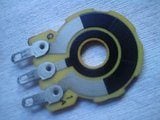
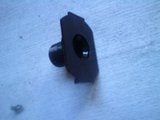
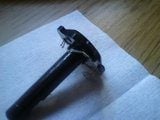
8. Now using some kind of degreaser/cleaner what you want to do is clean the parts that I have selected in red.
You should see be able to see black stain on the cleaning cloth that you are using.
(Area that needle moves on, and the tip of the needles that touch the surface)
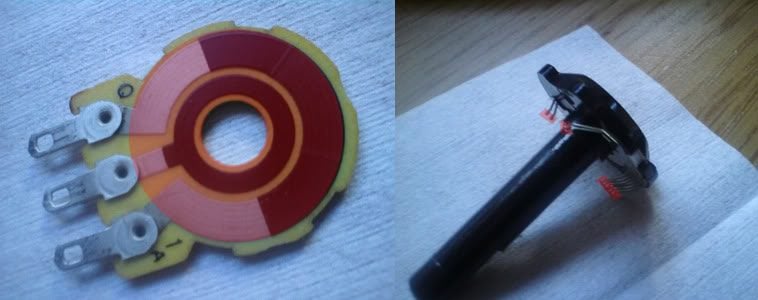
9. After you have done that, you can now put the pontentiometer back together. Remember to carefully
bend back the silver flaps that hold the pontentiometer together.

10. After that, put the pontentiometer back in the casing, tight the nut back to the bolt. Put the rest of the parts back and check if it's working fine by moving the part that is connected to the pedal and seeing if the needle in the pontentiometer moves at the same time. Then put the pedal back in the casing, remember to aline the teeth that move the pontentiometer. Tight everything back together by reading the guide backwards.
The end, if you have done everything correctly your pedals shouldn't spike anymore! Thank you for reading and I hope I have helped, plus can I just add that English is not my first language and something might not make sense

Any feedback very appreciated. 👍
Last edited:


