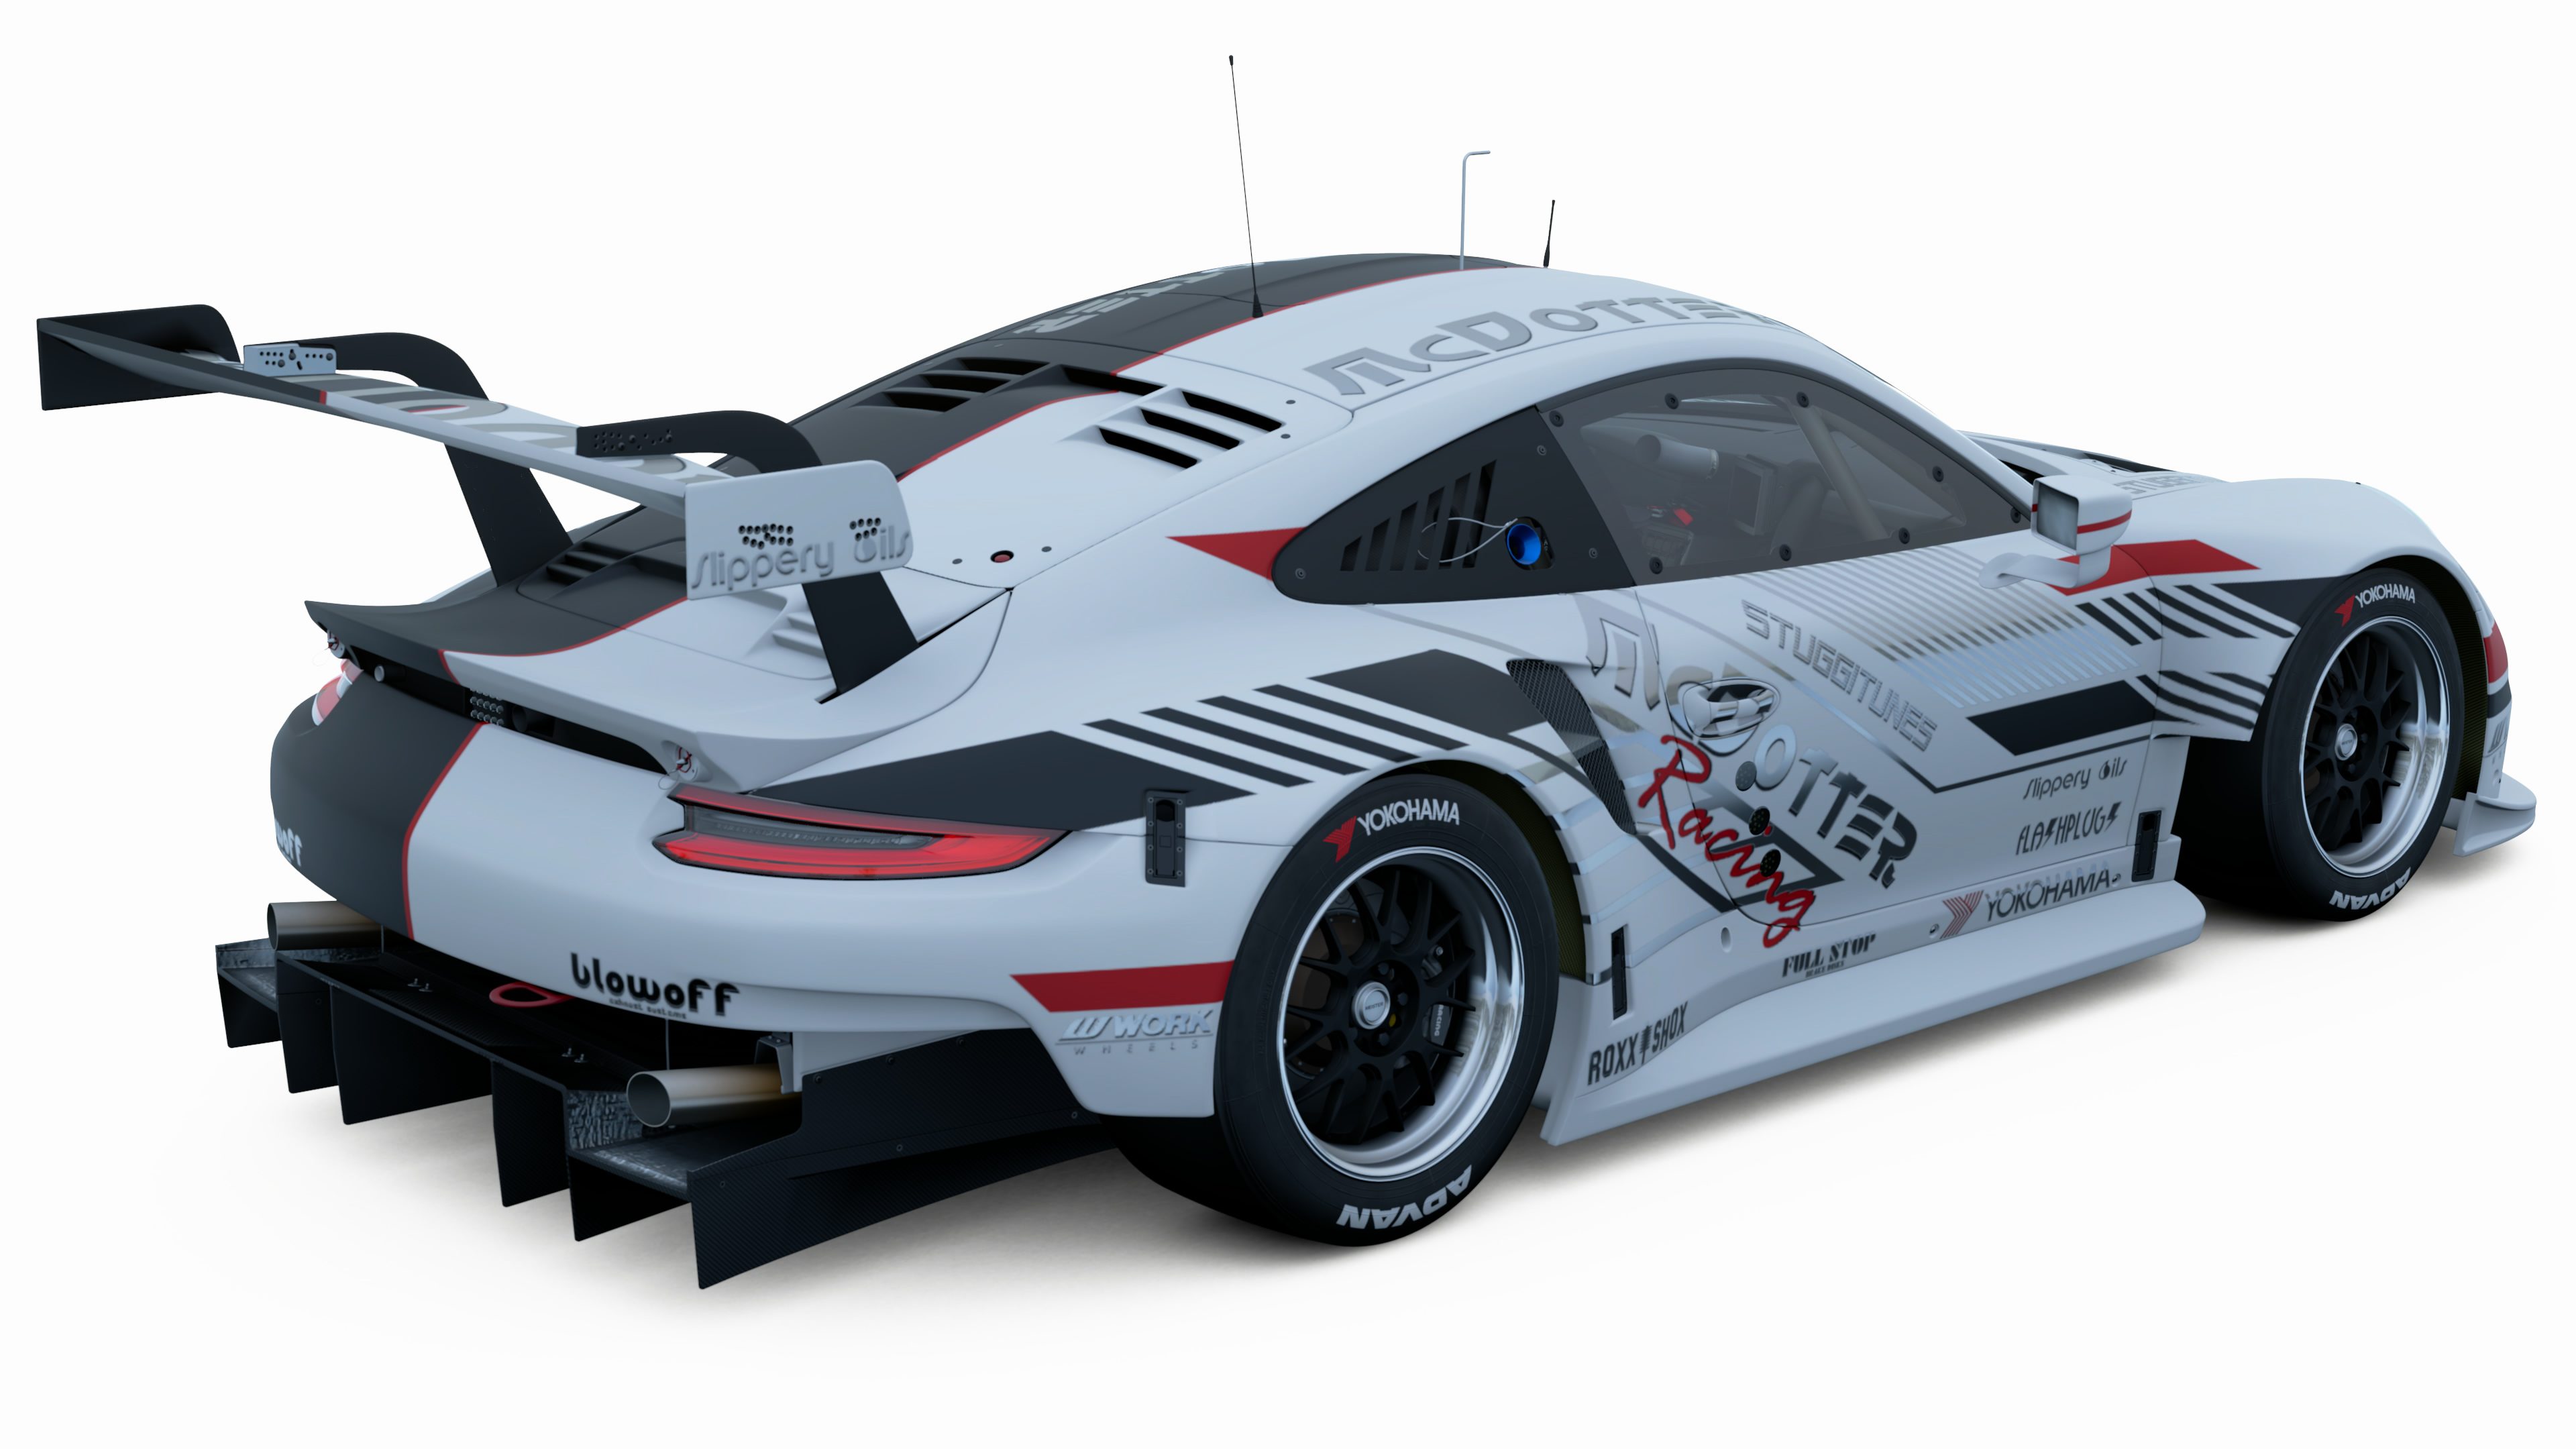
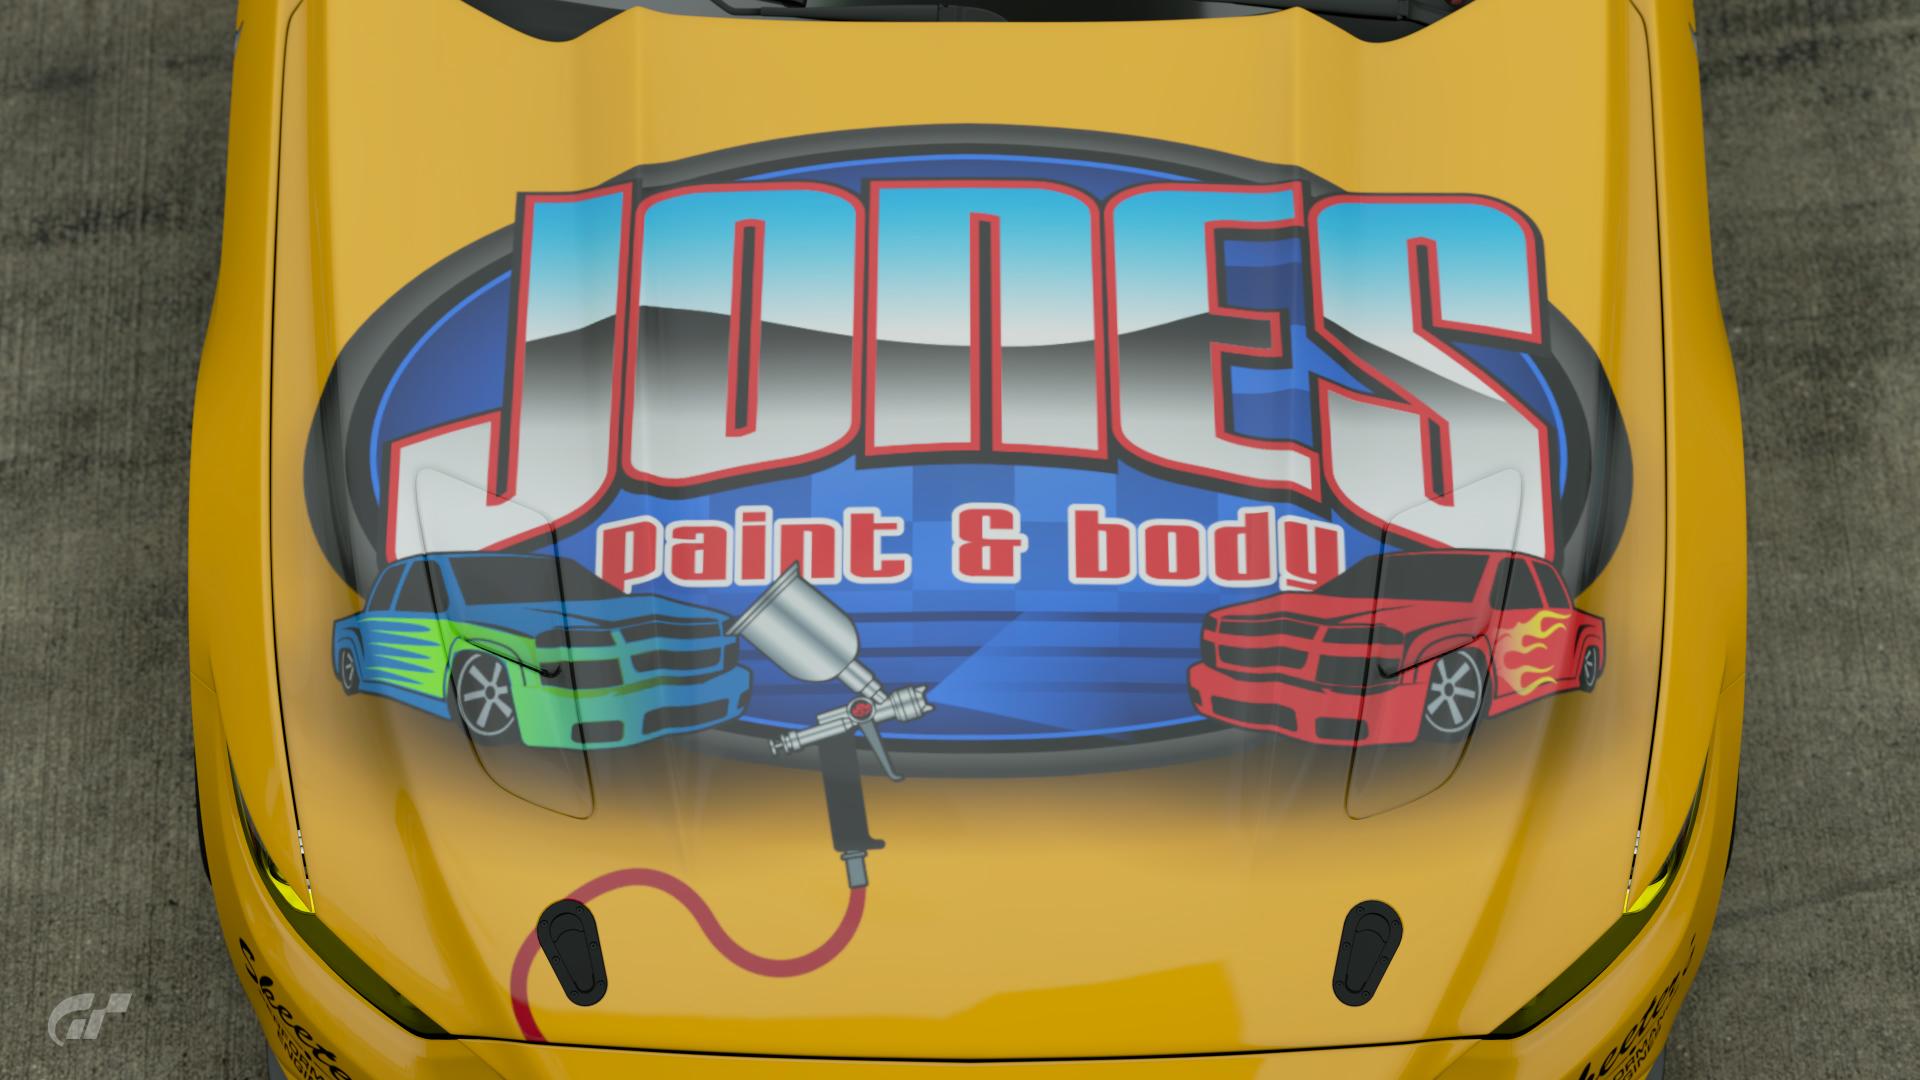
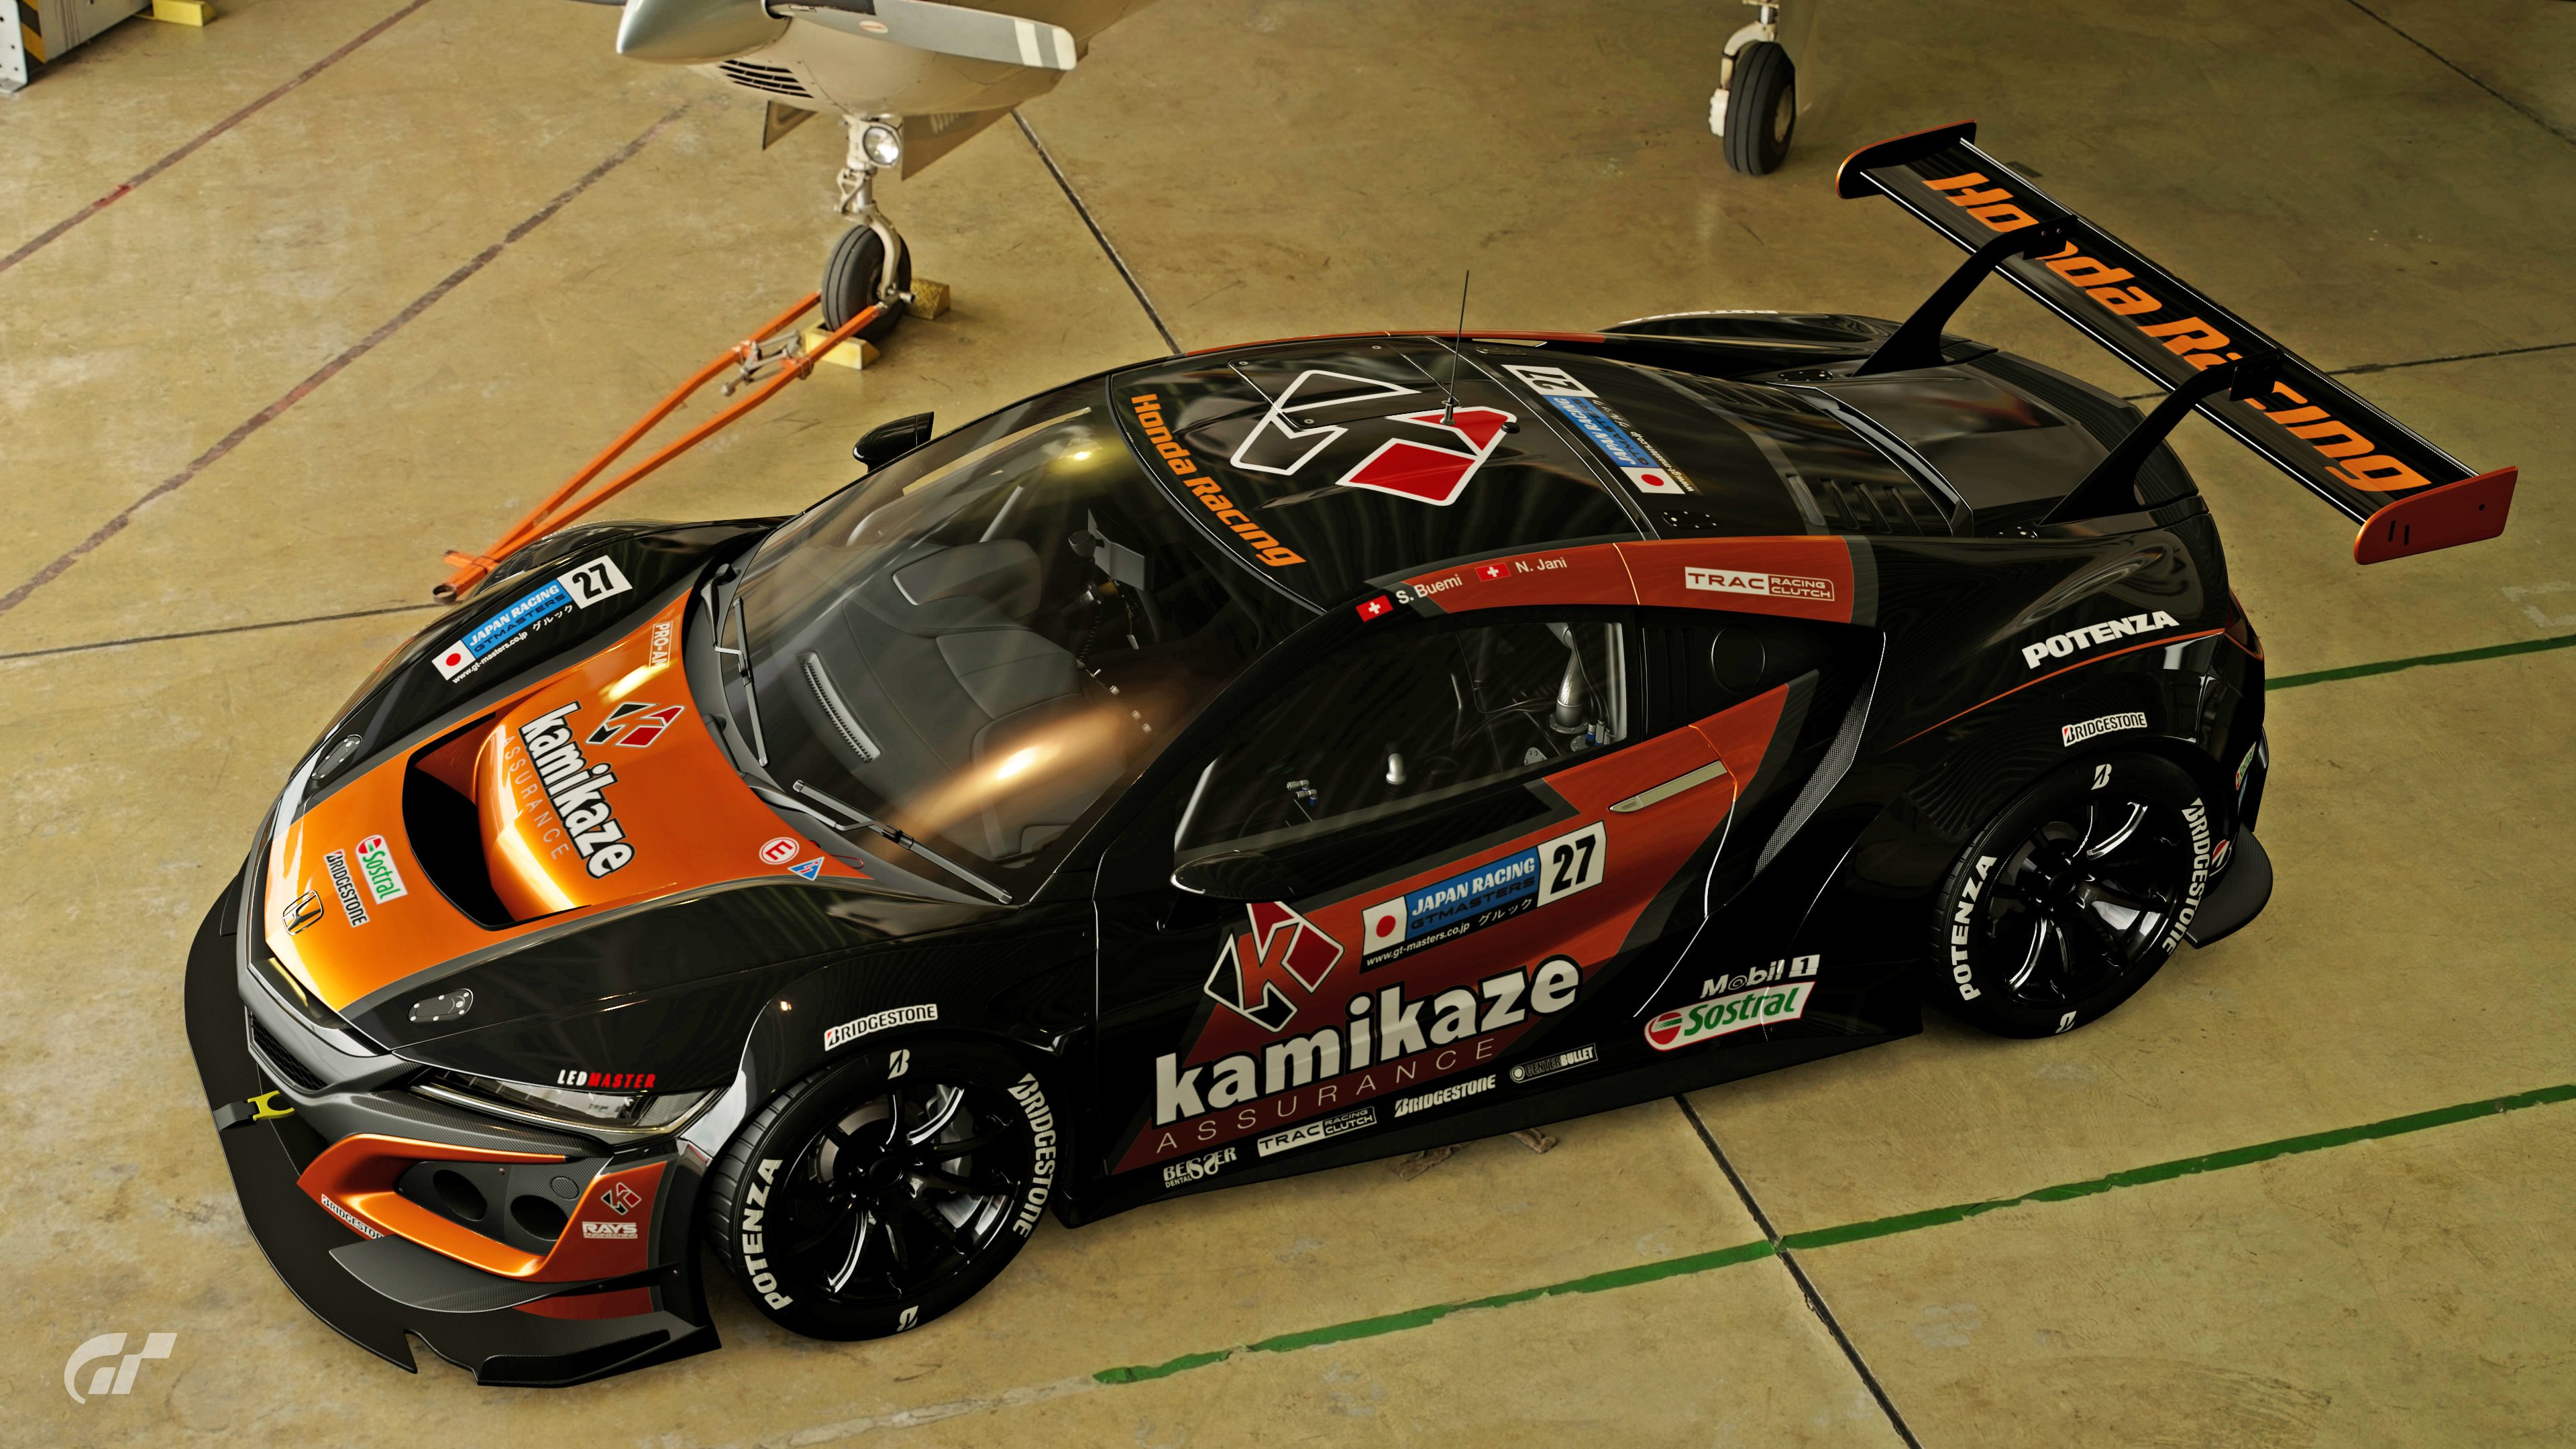
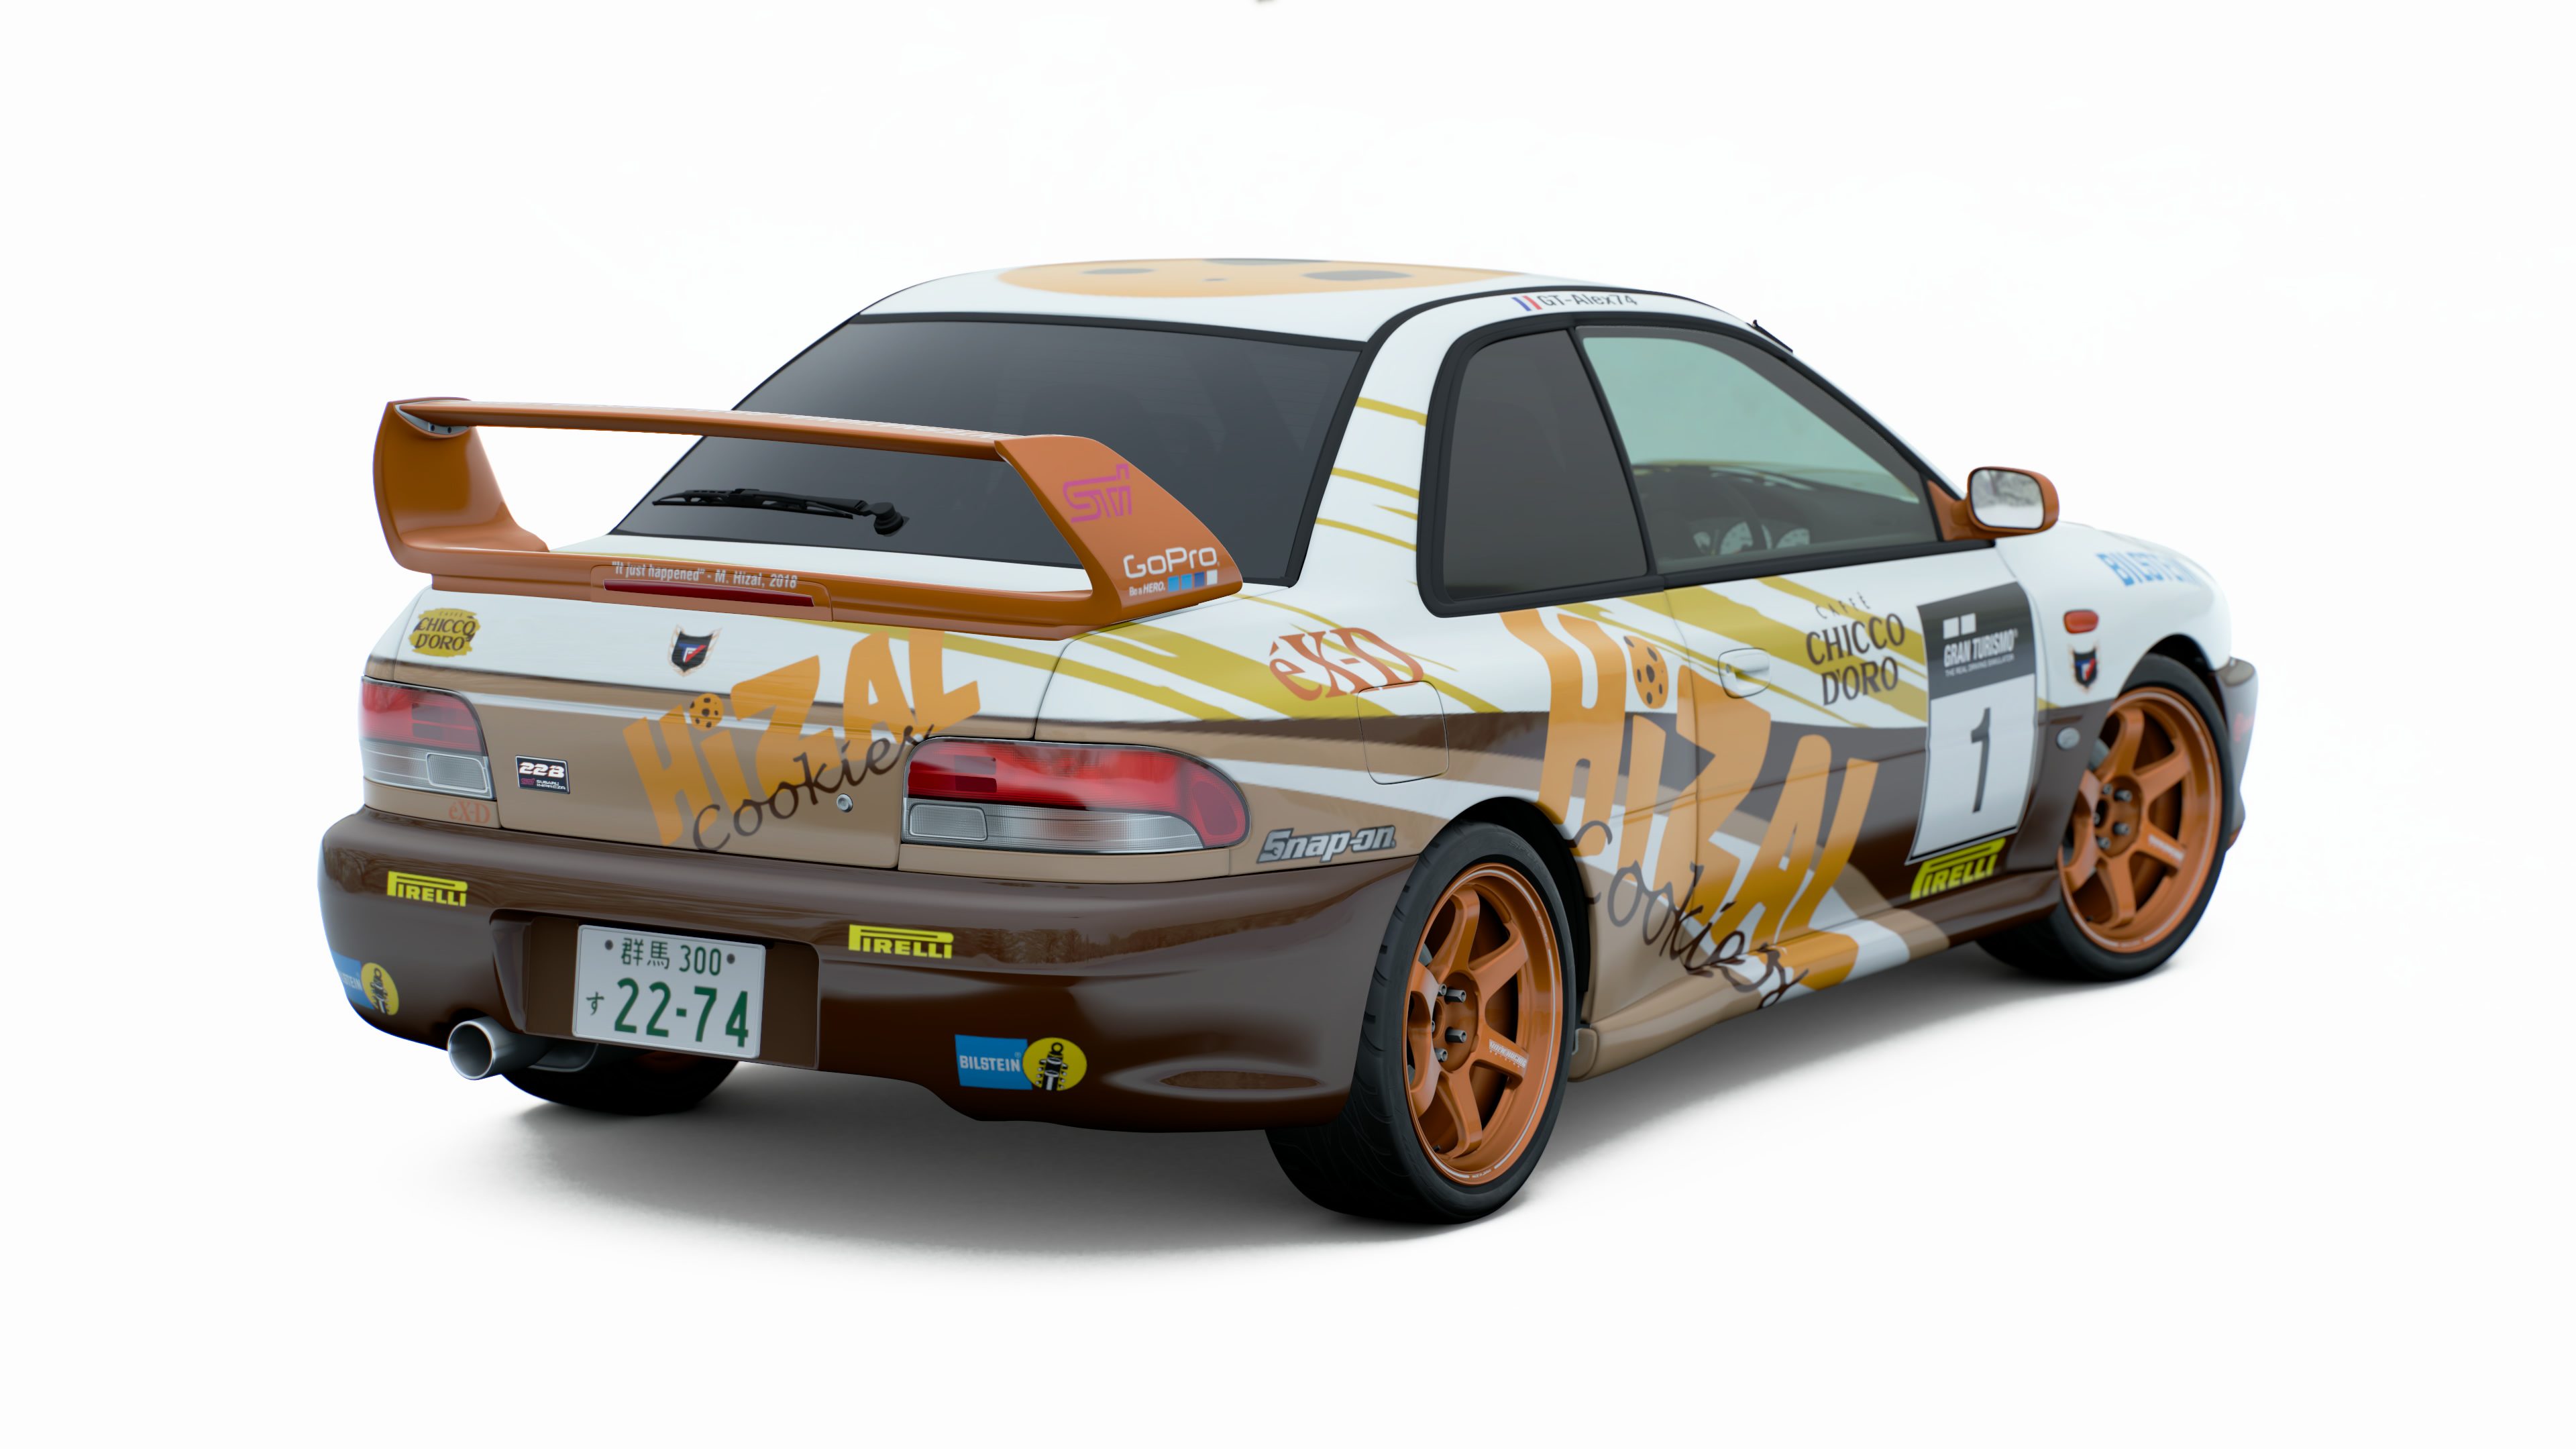
To help those who have said they would have trouble or not enough time to make logos, I'm going to go through what I did to create my logos. Most of my logos only took a few minutes to create and didn't use any complex methods.
1. Think of a company name and find a font that suits it. This is probably the longest part of the process. If your struggling for ideas, find a place where this company could be. I needed and oil company, where is there oil? North sea. Where is a place near the north sea? Caithness and now Caithness Oil sponsor my car. If that doesn't work, find an existing company and change their name using a thesaurus. I used Duracell, which is like durable and cells. What are similar words? Super and Power and boom, we now have Superpower Batteries sponsoring my car. And now to find the font, dafont.com is a great place to download free, creative fonts. I went for the Sans Serif and Fixed Width sections to get clean, bold fonts but it really is up to you how you want your logos to look. You can also type your company name into the preview bar and it will show it in the fonts.
View media item 45077
2. Type the company name in Inkscape. If you don't have Inkscape you can get it here -
https://inkscape.org/ Its a free, open source program to make vector graphics and is available on Windows, mac and Linux. Type your company name using the text icon on the left of the screen. Then select the font and size from the top left. You can also click and drag parts of the name to change to different sizes and colours as you would in MS Word etc.
View media item 45078
2B. Let's add some outlines. Outlines aren't as hard as you may think. On the right of the screen you will see Fill and Stroke. Fill is the block of colour that make up the letter while stroke is the edge of the letter. Highlight the text you want to alter, then click the Stroke Paint tab and change the X to Flat Colour next to it. You can also change it to gradients and patterns but I haven't tried those yet. If you fancy trying them, remember Ctrl+Z is your friend. You can also click the Stroke Style tab to change the width and pattern of the outline. You can also change the fill to X and only have the outline of the text.
View media item 45079
3.Preparing the text. Once your happy with the look of your text, click the mouse icon in the top left and then drag over to select all the text. Then go to Path > Object to Path. This will turn the text into shapes that will be shown in GT sport. Here in now the time to re-position parts of the text if you want. Double click to ungroup the text and then click and drag to select the text. You can also adjust the scale here as well.
View media item 45080
4. Saving as a .svg . Assuming your are now finished with your logo, click and drag over your whole logo and then go to File > Document Properties. A box will pop up and them click Resize page to content and then Resize page to drawing or selection. You should see the canvas retract to the size of your logo. Then close this box. Then go to File > Save As and save as a plain SVG. We are now done with Inkscape.
View media item 45081
5. Optimising and uploading to GTS. Now to get the logo under the 15kb limit. Go to
https://jakearchibald.github.io/svgomg/ and upload your file. At the bottom right it will tell you how big your file is and how much it can be optimised. Adjust the precision slider to get it under 15kb and then click the blue arrow to download the optimised logo. If your logo is already under 15kb then just close the page. Now to upload to Gt Sport. Go to
https://www.gran-turismo.com/gb/gtsport/user/decal-uploader and open the file browser to upload your logo.
View media item 45082
6. We're done! Let's get painting! Go onto GT Sport and your logo should be in the My decals section of the livery editor. This may seem like a long process but once you get used to the process and Inkscape it will only take a few minutes. Now to finish that car and enter this fortnight's contest!!!
View media item 45084[/SPOILER]


