There seems to be a bit of confusion as to how Inkscape works so I thought I'd write a basic guide on how to "convert" an image using Inkscape. Some seem to think that all you do is to open the jpg/png in Inkscape and save as svg but that will not work.
This guide will only be using a single colour image. Inkscape has issues tracing colourful images so we'll start off here with a simple, one colour, design. The advantage of having a single colour image is that it can be changed in game
Step 1:
Find your image. You need to find the largest, best quality, jpg/png/gif that you can. A little bit of touching up the image beforehand in an image editing program might be of use too. If the image is white, or other light colour, you'd need to invert the colours in order for Inkscape to pick it up.
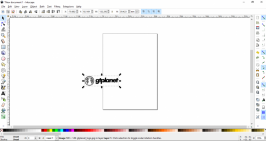
I'm using the GTPlanet globe and logo for this tutorial.
Step 2:
Start up Inkscape.
Go to
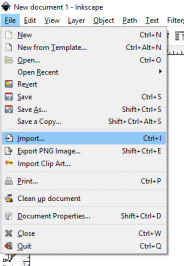
File > Import and select your image. As you can see, our image appears in the middle of the screen.

 Step 3:
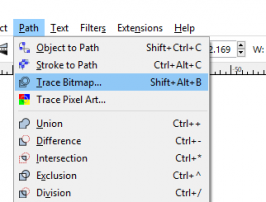
We now need to trace the image, so go to
Path > Trace Bitmap

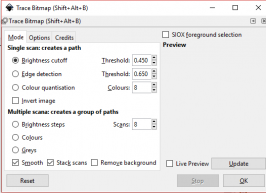
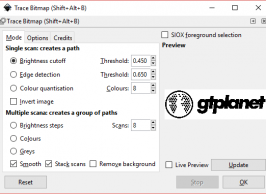
The following box appears. I think the options shown are the default options and we don't need to change anything here.

Select
OK. Our image appears in the preview box. The Trace Bitmap box can now be closed.
 Step 4:
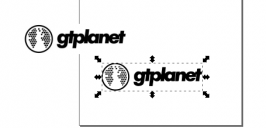
We are now back at the main window for a very important step. It will look like nothing has happened, but what we have now is a vectorised image on top of the original bitmap. The original bitmap must be removed. Click on a black bit of your image and drag it away. Click back on the original, and press delete.
Note: The image you are dragging is the vector. The one that is left is the bitmap. Be careful that you delete the right one as there is very little difference between the 2 images. The bitmap will usually have a larger selection box around it when you click on it.

In this image, the bitmap is top left, the vector is bottom right.
If you are confused as to which is which, an easy way to find out is to select the
Edit paths by Nodes option and click on one of the images. If nodes appear, then that one is the vector. If no nodes appear, then that is the bitmap and can be deleted.
 Step 5:
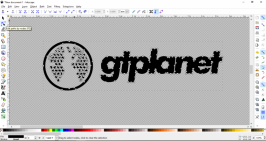
Not really a step this one, but I think it helps out to do it. Inkscape will ignore white areas when tracing, but the workspace is white, so you can't really see the vector as it will appear in game. You can go to
File > Document properties > and tick the "
Checkerboard Background" option.
 Step 6:
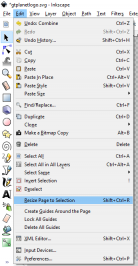
Inkscape starts off with an A4 page in the background that we've ignored up to this point. However for your decal to work, that page needs to be round the vectorised image. We do this by selecting the image, then going to
Edit > Resize Page to Selection. The page will now move so that it now envelops your image.

 Step 6:
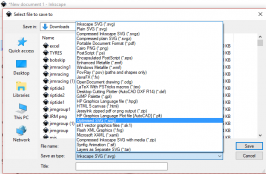
Saving the image. Inkscape has many options for saving images. The default is "Inkscape SVG." We don't want to use that option as it leaves too much irrelevant information in the file, and can mean the image could be to large, or may not even work at all. I use "
Optimised SVG" but "
Plain SVG" will work just as well.

If you use "
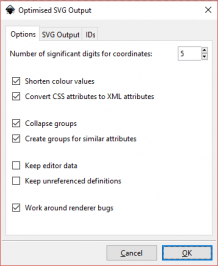
Optimised SVG" then the following box will appear. These are the default options and do not need to be changed. Just click
OK.

And there you have, hopefully, an SVG under 15kb. If it is still too large, you can use
OMGSVG to reduce the size, or you may need to manually remove nodes (but that's for another tutorial.)


